Making your own dairy-free yoghurt is easier than you think—and incredibly satisfying. Whether you’re vegan, lactose intolerant, or simply curious about fermented plant-based foods, homemade non-dairy probiotic yoghurt is a delicious and gut-friendly project you can do right in your kitchen.
While traditional yoghurts are made with cow’s or goat’s milk, plant-based versions rely on vegan-friendly starter cultures and creamy non-dairy milks like coconut, almond, oat or soy. With the right culture and a warm spot in your home, you can skip the supermarket and whip up your own batch of tangy, probiotic-rich yoghurt.
Two excellent yoghurt making cultures now available at Biome are from Green Living Australia and Mad Millie.
Both cultures contain the same beneficial gut-healthy probiotic bacteria:
- Streptococcus thermophilus
- Lactobacillus delbrueckii ssp. bulgaricus
- Bifidobacterium animalis ssp. lactis
- Lactobacillus acidophilus
Both are gluten-free, vegan, and free from dairy. Your choice depends on your batch size, storage capacity, and whether you’re using dairy or plant milks.
Here’s how they compare:
Green Living Australia Non-Dairy Yoghurt Culture
- 100% dairy- and soy-free, grown on a non-dairy medium
- Suitable only for non-dairy milks
- Highly concentrated culture (makes up to 100L)
- Must be stored in the freezer on arrival for maximum shelf life
- Free from allergens including gluten, soy, nuts, and more
Cost: approx. $0.25 per litre
- Suitable for both dairy and non-dairy milks
- Comes in five pre-measured sachets (makes 10L)
- Shelf-stable for 8 months if kept under 25°C; longer if refrigerated or frozen
- Convenient for beginners or small batch makers
Cost: approx. $1.39 per litre

How to Make Vegan Coconut Yoghurt
This recipe uses coconut cream and either of the two cultures above. Coconut is naturally rich and creamy, producing a smooth, tangy yoghurt. For best results use coconut cream with a high content of coconut cream (e.g. 99.9% coconut cream) and minimal water.
Ingredients:
- 2 cans of organic coconut cream
- 1 tablespoon of sugar, agave nectar, maple syrup or brown rice syrup (a food source for the culture)
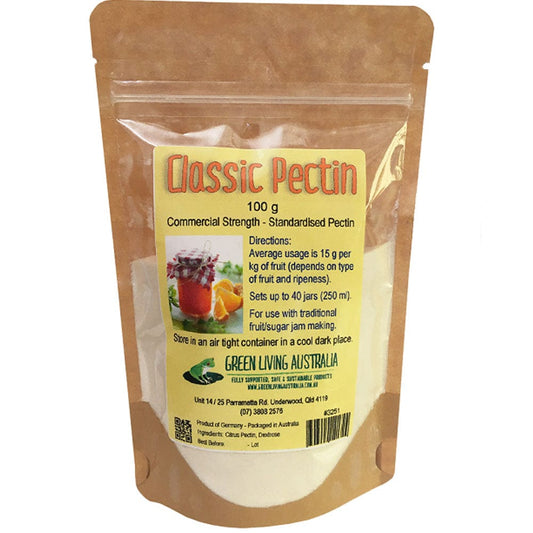
- 2–3 teaspoons of classic pectin or other thickener
- 1 dose of non-dairy yoghurt starter culture
Equipment Needed:
- Whisk
- Yoghurt maker, thermos-style pot, or a warm space
- Thermometer
- Measuring spoons
Instructions:
- Pour coconut cream into your yoghurt maker bowl, glass jar, or saucepan.
- Add sugar and whisk until dissolved. This feeds the live culture.
- Sprinkle in the pectin gradually, whisking to avoid clumping.
- Heat the mixture to 40°C.
- Add the yoghurt culture and mix thoroughly.
- Maintain the mixture between 37–43°C for 18–24 hours. You can use a yoghurt maker, wrap the jar in a blanket, or place it in a warm spot like on top of your hot water system.
- Stir occasionally if separation occurs.
- Taste test after 18 hours; a tangier flavour indicates a stronger ferment.
- Chill in the fridge for a few hours before serving.
Tips for Success:
- Use sterilised jars and utensils to avoid contamination.
- Do not overheat your culture—temperatures above 45°C can kill beneficial bacteria.
 Yogurt Maker
Frequently Asked Questions
What is the best non-dairy milk for making yoghurt?
Coconut cream with a high coconut cream content is a popular choice because it’s thick and naturally creamy. Soy milk is high in protein and produces a good set. Almond and oat milks may result in a thinner yoghurt unless you add thickeners like pectin, agar agar, or arrowroot.
How long does homemade non-dairy yoghurt last?
Generally, it will last 5 to 7 days in the fridge. Always use clean utensils to avoid introducing bad bacteria.
Can I use my homemade yoghurt as a starter for the next batch?
Yes! Keep 2–3 tablespoons from your last batch to start the next one. Over time, potency may drop, so it’s a good idea to refresh with a new starter every few batches.
Does non-dairy yoghurt contain probiotics?
Absolutely. As long as you use a live culture and maintain incubation temperatures, your yoghurt will be rich in beneficial probiotics.
Why isn’t my yoghurt setting properly?
Check these factors:
- The culture may have been expired or overheated
- The incubation temperature was too low or inconsistent
- Not enough sugar or carbohydrate was added to feed the culture
- The milk may be too low in protein or needs a thickener
How can I naturally thicken non-dairy yoghurt?
Try using classic pectin, agar agar, or tapioca starch. Straining the yoghurt through muslin after culturing will also make it thicker (like Greek yoghurt).
Troubleshooting Tips
- If your yoghurt is too runny: Add a thickener next time or strain through a cheesecloth.
- If it smells odd or has visible mould: Discard it and sterilise your equipment thoroughly.
- If it tastes too sweet or bland: Adjust the sugar or culture quantity in your next batch.
- If separation occurs: Stir it gently before chilling—it’s still perfectly fine.
Enjoy the benefits of homemade, plastic-free, probiotic-rich yoghurt—and feel good knowing exactly what’s in every spoonful.
MORE READING
How Fermented Foods Support Gut Health and Immunity
6 Ways to Preserve Food Naturally: A Beginner's Guide to Fermentation,
How to Ferment Vegetables at Home
EXPLORE RELATED PRODUCT COLLECTIONS